How to apply film to plastic and glass without bubbles
It is hard to imagine outdoor advertising production without coloured Oracal films. This versatile material has long been the undisputed leader among materials for applying graphics to all kinds of surfaces.
Our specialists use these films extensively in their work, so we know first-hand how to apply them neatly and without defects – that is, without the bubbles and wrinkles that can ruin the whole job.
That is why we want to share some useful tips with you. But first, a few basics.
What Oracal is: structure and types
There are many domestic and foreign manufacturers of self-adhesive films (brands such as Ritrama, Avery and others). In our country, however, the most popular is Oracal – a German-made film by Orafol Europe GmbH – which has become a byword for vinyl film in general. Like any German product, it is also a byword for top quality and reliability.
Films can be:
- matt or gloss;
- cast or calendered (depending on the production method);
- in different price segments – from economy to premium;
- translucent (light-diffusing) and reflective (used for road signs and safety markings);
- window tint film, clear stained-glass film for glass (e.g. for sliding wardrobe mirrors), banner film, etc.
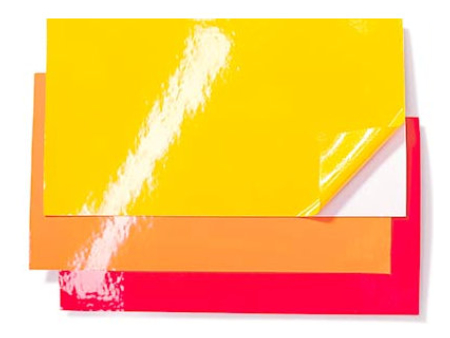
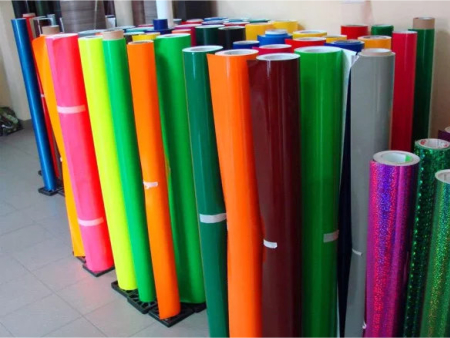
For example, vehicle wrapping uses highly elastic films suitable for extreme conditions – namely cast films, which conform to any contour, unlike calendered films, which are used only on flat surfaces.
There are also some interesting special types:
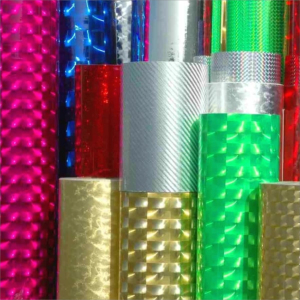
- metallised films (with a mirror finish imitating gold, silver or chrome);
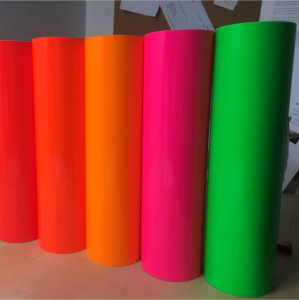
- fluorescent films (with vivid colours that glow in the dark to attract extra attention);
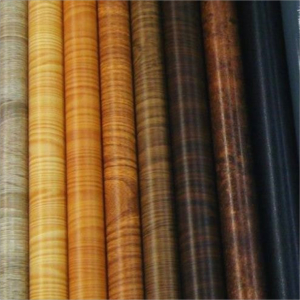
- decorative films (with patterns and imitations of different textures – e.g. wood or marble – etc.)
Advantages and uses of self-adhesive films
- They are versatile. They can be used on all kinds of surfaces (mostly smooth ones): glass, wood, plastic, metal, concrete, etc. The surface can be any shape too – flat, concave or convex (you just need to know which type of film suits which surface and how to work with it properly).
- They are affordable – and therefore available to a wide range of customers. They faithfully imitate natural materials yet cost far less than other types of cladding.
- They are diverse – so you can choose the option that best fits your budget and the required look and physical properties.
- They are low-maintenance. They are ideal both for indoor advertising and decoration work and for outdoor use. Always check the film's technical description and choose the most suitable option. Some Oracal films are completely resistant to UV radiation and moisture, withstand significant temperature swings and weathering, and keep their appearance for a long time. Of course, for indoor use such properties are not needed.
Surfaces decorated with these films also take on new decorative qualities, so their range of uses is very wide. Oracal is successfully used for many tasks in many fields, such as:
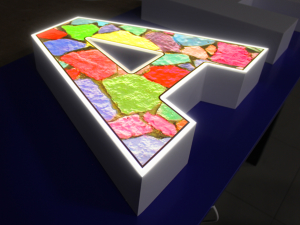
- production of advertising media for both outdoor and indoor use (it helps create striking, bright signs, illuminated advertising, light boxes, direction signs, 3D letters and other products that promote a business – see our catalogue!);
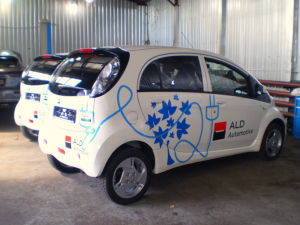
- shop window design and vehicle advertising (suitable for both short-term and long-term campaigns);
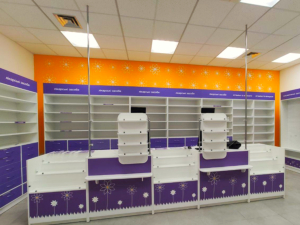
- interior design finishing (in both residential and commercial premises);
- furniture production (covering furniture fronts to improve their appearance);
- decorative work of any kind and complexity, etc.

One of the main advantages of self-adhesive films is how easy they are to work with. Both professionals and ordinary users can apply this material: it is easy not only to apply but also to remove, which is another big plus!
There are two ways to apply self-adhesive film:
- applying whole sheets of film;
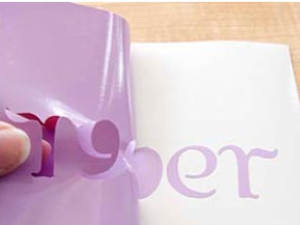
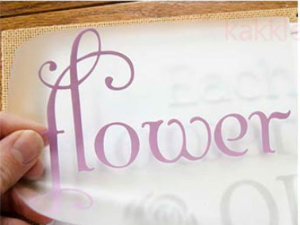
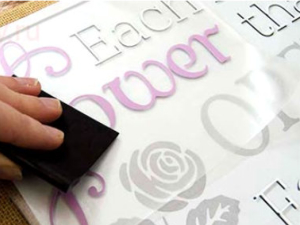
- cutting (weeding) and application – each element or letter is cut on a plotter and then applied to the surface using application tape (transfer film).
How to apply Oracal to plastic or glass:
Remember that the temperature of the room where Oracal is applied directly affects its physical properties.
Ideally, this work should be done at temperatures between +8 and +30 °C. Low temperatures make the film lose its elasticity, while high temperatures make it too soft, so it deforms and stretches very easily. The same temperature requirements apply to the surface being covered: for the best bond, the film and the surface should be at nearly the same temperature.
For the best result, avoid exposing the film to temperature changes for at least a day after the work is finished.
1. First step: preparing (cleaning) the surface
Once you have chosen the film, prepare the surface for application.
This means thoroughly cleaning the surface of any chemical and mechanical contamination and degreasing it. Never use aggressive household cleaners or oil-based solvents for this! Ethyl or isopropyl alcohol, vodka or silicone remover are preferable.
The work area must also be clean: when the film is peeled off its backing, static builds up and can attract even the tiniest particles of dirt to the surface.
Also pay attention to how even the surface is and sand it down if needed, because any scratch, dent or bump will show through Oracal – especially gloss film. Matt film hides such minor flaws.
Note! Not all surfaces are suitable for film, especially rough ones such as unpainted wood, unlaminated chipboard, whitewashed walls, etc.
2. To apply the film, you will need these tools:
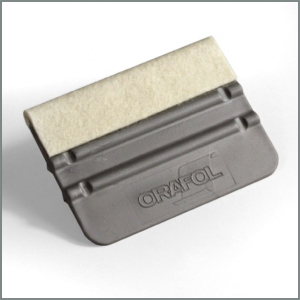
- a squeegee – a special application scraper made of plastic, rubber or felt;
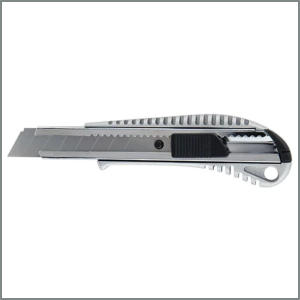
- a utility knife with replaceable blades;
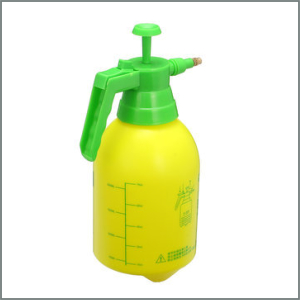
- a household water spray bottle.
3. Choose the application method – wet or dry
In other words, with water or without it. It all depends on how experienced the installer is.
The dry method is chosen by experienced installers: it is a more reliable and faster way to apply film without bubbles, but it takes skill. With this method the film bonds to the surface immediately.
The wet method is recommended for beginners and less confident users, because it lets you slide Oracal across the surface and adjust its position while you work.
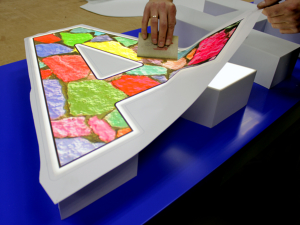
Clear, stained-glass and translucent Oracal (e.g. for shop windows) is applied only by the wet method, as it is more delicate and forgiving. The procedure is as follows:
- after cleaning the surface, cut the film with a margin of 2-3 cm on each side;
- use a household spray bottle to apply a little warm water or a weak soap solution (2% liquid soap + water) evenly to the surface;
- as you peel off the backing, spray the adhesive side of the film with the soap solution;
- lay the film on the surface as evenly as possible, adjusting its position if necessary;
- then use the squeegee: holding the material in place, push the liquid and air out from under the film, working from the centre towards the edges.
As this last step is the most critical and requires full attention, go over the film with smoothing strokes more than once.
Good ventilation of the room will speed up drying.
4. Pay special attention to corners and edges!
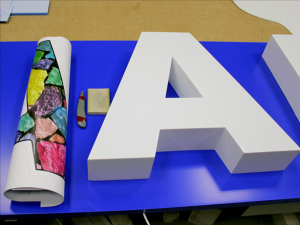
In industrial settings, Oracal is applied to large surfaces with special equipment – laminators/applicators. The even pressure of their rollers ensures perfectly smooth application.
When working by hand, however, you need to take extra care so that the edges of the film do not curl up or come unstuck altogether. We therefore recommend going over the whole covered surface with the squeegee again a few hours after application.
Then wait until everything dries – and the film is firmly bonded to the surface!
A few more important tips!
- Do not combine films from different manufacturers on one item: despite looking similar, their physical properties (e.g. light transmission or elasticity) may differ.
- Remember that cheap self-adhesive film is not very dense, so it will not properly hide surface defects underneath.
- For curved surfaces, warm the film with a heat gun: this makes it more elastic and lets it take the required shape. The same applies to textured surfaces.
- If an air bubble refuses to move when smoothing, do not press on it! Simply pierce a small hole next to it with a fine needle to let the air out.
- If possible, get a helper. This not only saves time but also makes the job easier (e.g. when you need to hold the film and fix defects at the same time).



-
![About us]() About us
About us
-
![Contacts]() Contacts
Contacts
-
![Payment]() Payment
Payment
-
![DELIVERY]() DELIVERY
DELIVERY
-
![Gallery]() Gallery
Gallery
-
![For designers]() For designers
For designers
-
![Print-ready artwork requirements]() Print-ready artwork requirements
Print-ready artwork requirements
-
![Aluminium composite colour range]() Aluminium composite colour range
Aluminium composite colour range
-
![Chipboard colour palette in stock]() Chipboard colour palette in stock
Chipboard colour palette in stock
-
![Artwork approval rules]() Artwork approval rules
Artwork approval rules
-
![LED neon colours]() LED neon colours
LED neon colours
-
![Artwork design]() Artwork design
Artwork design
-
![RAL colour chart]() RAL colour chart
RAL colour chart
-
![Pantone colour chart]() Pantone colour chart
Pantone colour chart
-
![Series 641 – economy]() Series 641 – economy
Series 641 – economy
-
![Altuglas coloured acrylic palette]() Altuglas coloured acrylic palette
Altuglas coloured acrylic palette
-
![Two-layer plastic colour palette]() Two-layer plastic colour palette
Two-layer plastic colour palette
-
![Useful articles about advertising]() Useful articles about advertising
Useful articles about advertising
-
 About us
  Company documents
  Contacts
  Payment
  DELIVERY
  Gallery
  For designers
  Print-ready artwork requirements
  Aluminium composite colour range
  Chipboard colour palette in stock
  Artwork approval rules
  LED neon colours
  Artwork design
  RAL colour chart
  Pantone colour chart
  Series 641 – economy
  Altuglas coloured acrylic palette
  Two-layer plastic colour palette
  Useful articles about advertising